I worked as an engagement manager in a makerspace in library for a year. I have listed few projects from the makerspace.
The makerspace was inside iHub, which is a public library run by US Embassy in Nepal. It organizes different community events like speaker sessions, movie viewings, storytelling, etc. The makerspace inside library was a unique experimentation in the entire country.
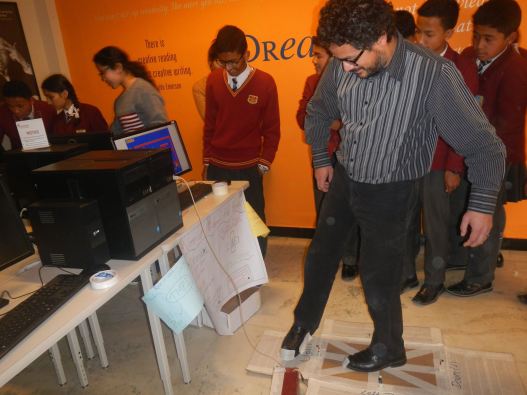
Scribbler Bot
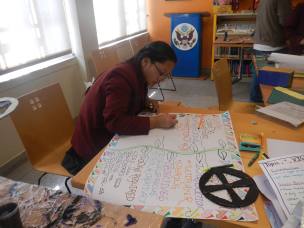
As a part of the makerspace activity I conducted a workshop on building a scribbler bot. Scribbler Bot is a mechanical contraption that is made using motors, batteries, elastic bands, cups, popsicle sticks, glue gun candle, sharpies, clips and other random objects that draws patterns on table. The idea behind it is that a motor vibrate when an off centered weight is attached to it.
People from different ages and backgrounds participated in the workshop. I learned about the workshop from Ryan Jenkins from the Exploratorium when he was visiting Nepal.
The goal of the activity was to encourage tinkering. Users were challenged to try to make their machines draw straight lines, regular circles or make random crazy patterns.
Link to the video from the workshop:
Paper Circuits
We did a workshop with Ryan Jenkins from the Tinkering Studio in Exploratorium in San Francisco on how paper circuits can be connected with scratch through arduino.
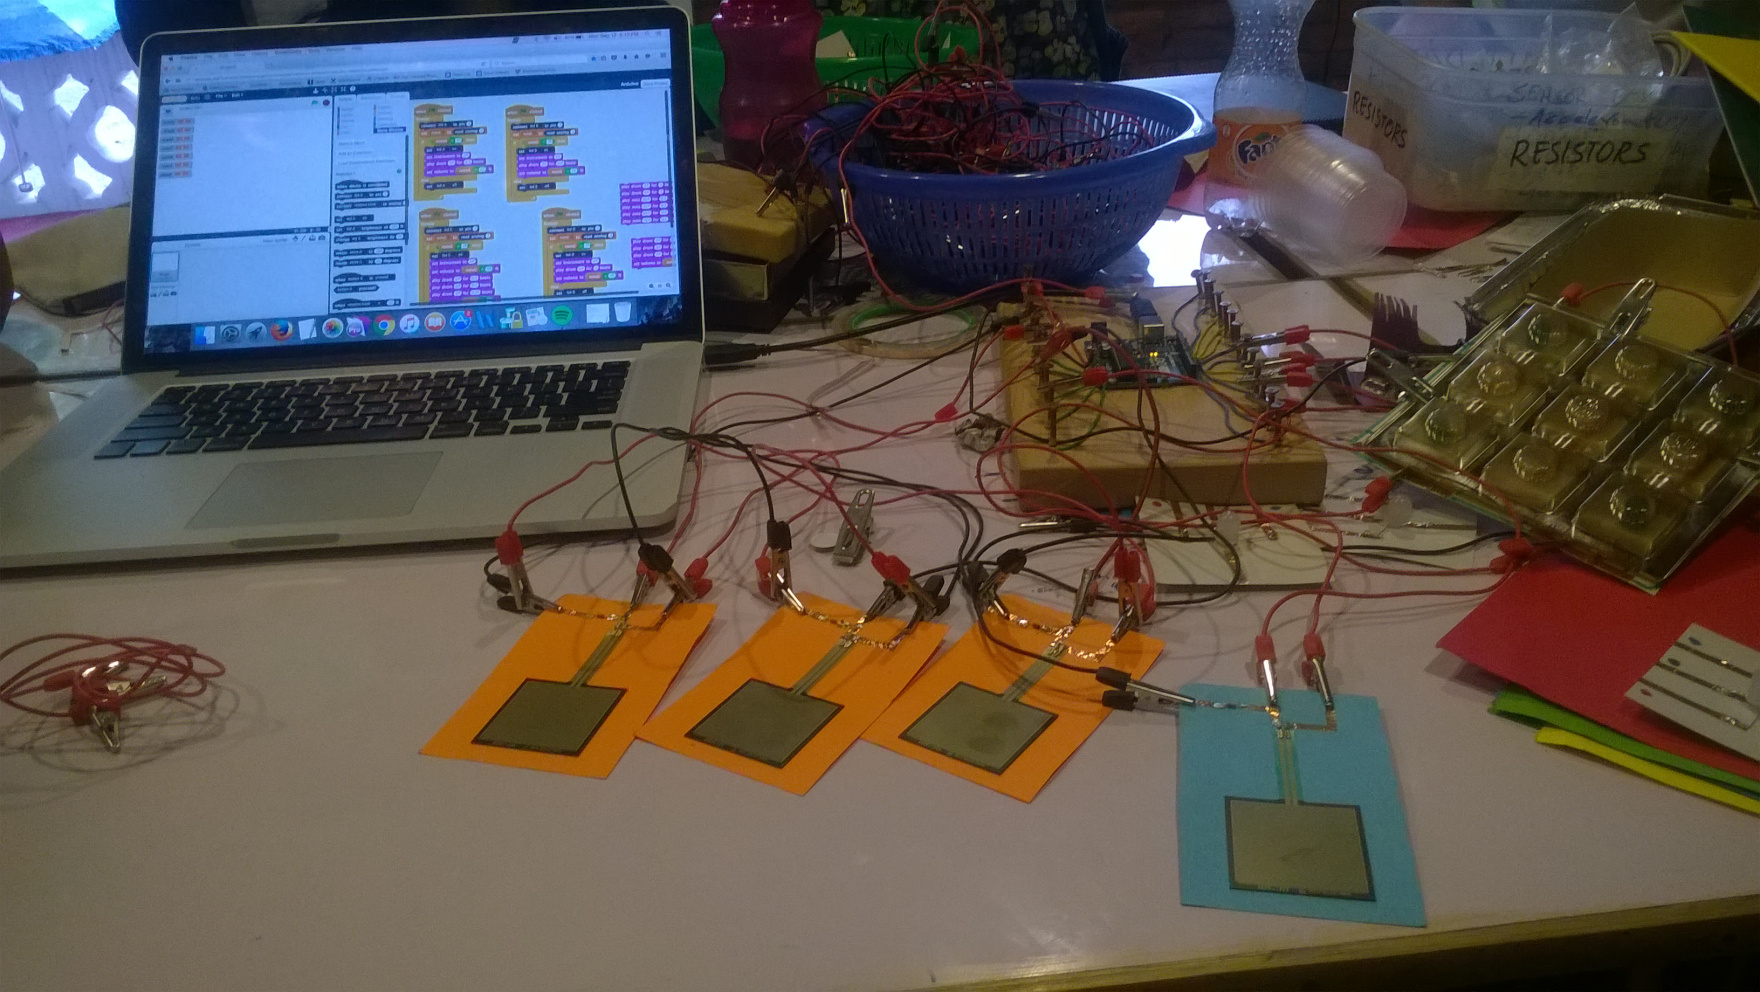
The above project is a drum set using force sensors connected to Arduino programmed with Scratch.
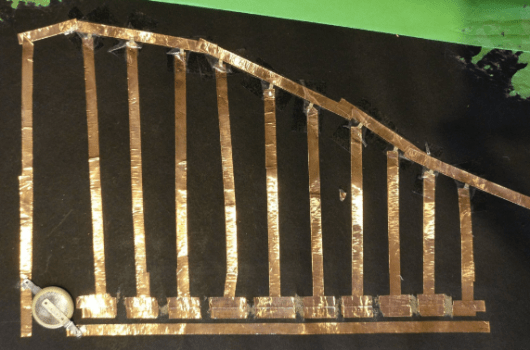
Below is an example of paper animation. I made a card that animated a ball moving from bowlers hand to the wickets. I have also posted the internal circuitry below.
Making Interactive Physical with Arduino and Scratch
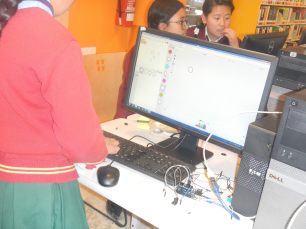
I led a 12 week long workshop on building games on Scratch for middle school students. The students had little to no knowledge of programming. By the end of 12 weeks they learned programming Arduino using Scratch and built physical interactive games.
They were prompted to built products for people from 300 years in the future when people rely on robots for almost everything. This inactivity resulting from over reliance on machines will make people unhealthy so the students had to come up with a fun interactive game using Scratch, Arduino and sensors so people could exercise while having fun.
The above video is a demonstration of what the games could look like. I used laser cutters to cut the steering wheels and a casing for wires and Arduino.
Link to Scratch game- https://scratch.mit.edu/projects/116959511/
The students built different fun interesting games like competitive car race, boxing, Dance Dance Revolution like dancing games.
Jhilimili (DIY Photoframe)
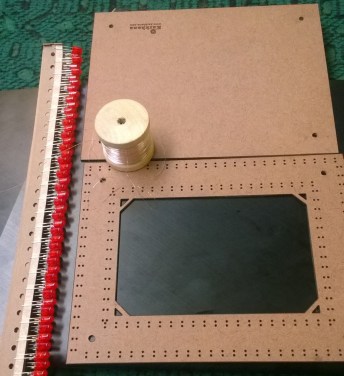
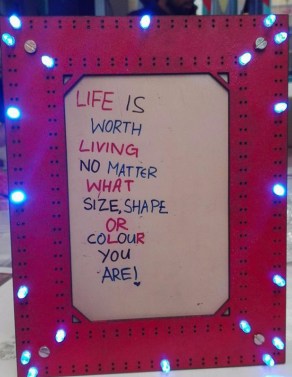
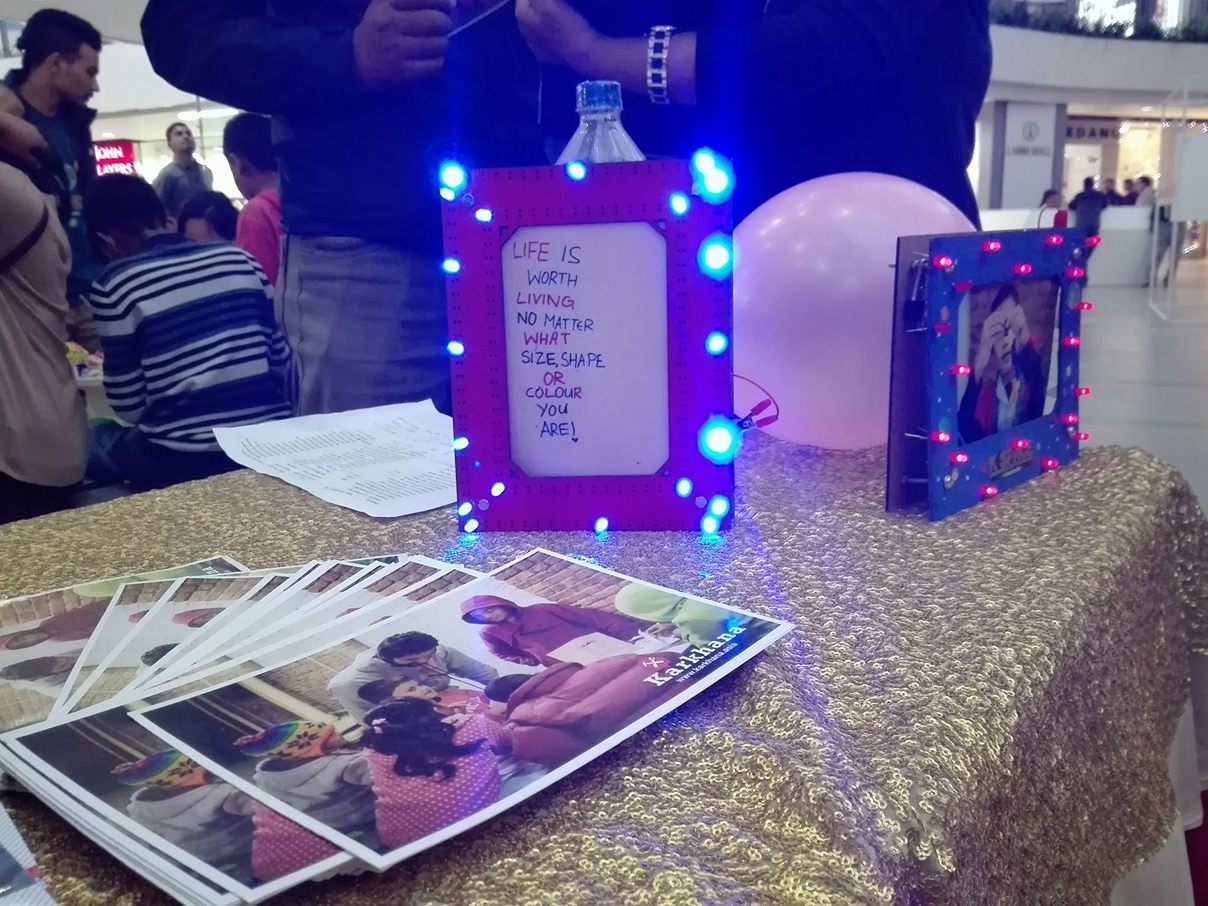
My friend Roshan Bhatta and I designed this project for Tihar, the festival of lights. It can also used for Christmas and other gift exchanging festivals. We came up with this design because we wanted to use lots of lights and also wanted to make this project fun as well as educational. Users can choose the colors, pattern and number of LEDs in the frame.
The frame is made using MDF was cut using precision laser cutter. One of boards (serving as front face) has holes for LEDs’ legs. The back of the frame has Karkhana logo engraved. The four circular holes on each corners are to secure the frame with nuts and bolts.
Participants learn the concept of voltage, resistance, conductivity while creating their own masterpiece. At first participants are asked to light up the LED using a 9V battery. After blowing up the LED they are asked to use resistor to safely light a 2 V LED using a 9V battery. The participants then paint and draw on the boards to create patterns they like and even write names of people they want to gift. They choose the color of LED they want and start creating pattern putting them through the holes. Using the wire they make parallel connection, by connecting all the positive terminals together and negative terminals together, avoiding any short circuits. The wires are at last connected with battery cap along with a resistor.
Acrylic Light Band
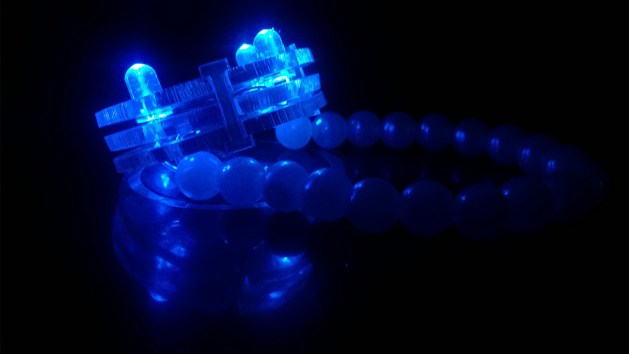
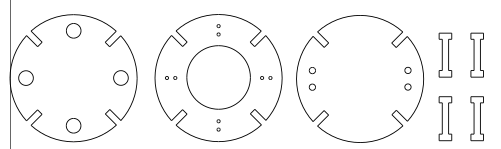
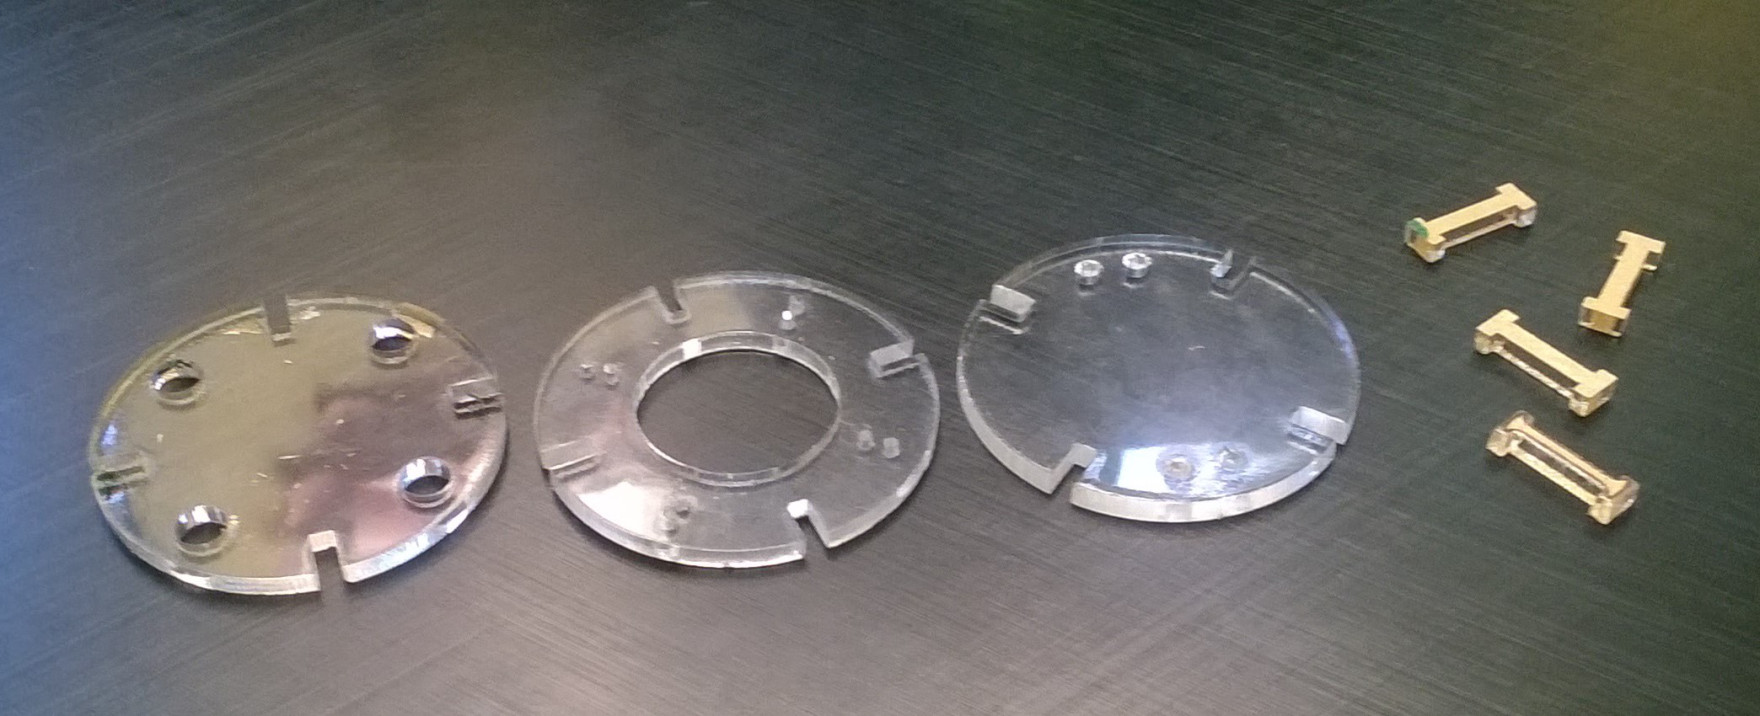
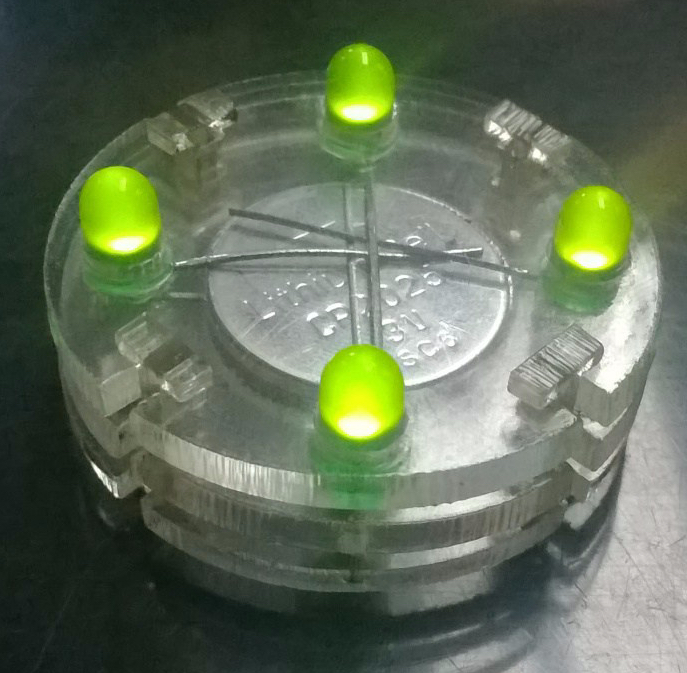
This is a DIY bracelet. The designs were made on Inkscape and cut out on acrylic sheet. There are three different pieces that go on top of each other along with LEDs and battery. Users can design custom bracelet using different colors and numbers of LED.
Users begin with understanding how a LED should properly be connected with a battery. Then using observation skills they should figure out what each piece’s role is and which piece goes where.
Material Used:
- Acrylic sheet
- LEDs
- Coin cell battery
- Elastic cable
- Beads

Leave a comment